Windows 10 Features to Love

If you hang around technology enthusiasts long enough, you may hear one admit that they love a device so much, they can’t picture life without it.
While, in reality, it’s typically these same individuals that are the first to upgrade their gear, something must be said about the bond individuals hold with the technology they use. Whether it’s the initial purchase of a modern desktop or the recent discovery of new features in a beloved application; finding technology that supports your needs can feel a lot like love at first site.
For Rocket IT and its staff, this feeling came with the launch of Windows 10 nearly five years ago. And since that moment, the love we’ve felt for the operating system and its subsequent updates has never been stronger. So in light of Valentine’s Day, let’s dive into some of those features that make this version of the platform so unique.
Windows as a Service
Before Microsoft released Windows 10, the organization shocked consumers by announcing it was making a shift away from the traditional update deployments of the past. Instead of withholding innovative features and releasing new versions of the OS every few years, Microsoft made plans to distribute smaller, yet equally important, updates on a semi-annual basis. The best part: these updates have, and will continue to be, completely free of charge to consumers.

As a testament to this promise, Microsoft has released nine major updates throughout Windows 10’s current life cycle; with the latest addition having launched in November of 2019. But despite the general approval of this most recent update, Microsoft developers have continuously teased an array of new features over the past few months, promising an even bigger update in early 2020.
More Control Over Patches
Along with the large updates Microsoft pushes out to Windows 10 on a semi-annual basis, smaller patches frequently hit the operating system to resolve bugs and improve security features. Although, by default, these updates are set to run when most people are not using their PC, there may be a time when a user is prompted to update during a critical task.
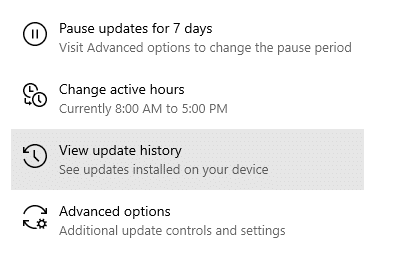
Fortunately, Windows 10 gives individuals more control over the timeframe in which updates are installed; allowing them to pause downloads for up to seven days and define their regular hours of work. To do so, simply click the Windows icon in the taskbar and navigate to settings. Once there, select Update & Security to alter the options to reflect your current work schedule.
Ability to Remove Built-in Apps
Although Microsoft now ensures at least 7GB of on-board storage is dedicated for updates for Windows 10, a welcome addition has also been the ability to remove default applications in lieu of more memory. Take, for example, the Paint 3D app. Despite how entertaining it is to build three-dimensional models from scratch, most users really don’t require such tools. In turn, by deleting this program, room can be made for apps that are more important to the individual’s productivity.
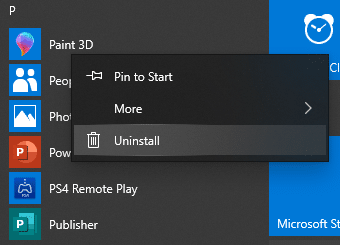
Furthermore, for those PC owners who have yet to make the jump to a larger solid-state drive, the ability to remove unneeded applications on a whim can become quite helpful when installing one of today’s many data-hungry applications. To remove one of these pre-installed applications, simply open the Start Menu by clicking the Windows icon in the Taskbar. Then scroll through the list of applications until you get to the one you’d like to remove. From here, right click the app’s icon and click uninstall.
Your Phone App
While there will inevitably be some pre-installed applications you may be interested in removing, Rocket IT suggests individuals with Android smartphones look into keeping Windows 10’s “Your Phone” app. By using the application to wirelessly connect an Android device to the PC, individuals can explore a variety of seamless features.
For example, along with the ability to make calls directly from your PC, the Your Phone app provided individuals with an easy method to transfer photos stored on a mobile device directly to a PC without the need to use a physical cable. Additionally, if an individual opts to enable this setting, notifications received on a phone can be displayed directly on the PC; alleviating the need to continuously check your phone and break your productivity stride.
To enable Android to PC notifications, open the Your Phone app on your PC. After following the on-screen prompts to link your phone, click the settings icon in the bottom-left corner. Under the Messages tab, turn on the toggles for text messages and MMS attachments. From this page individuals can also define where they’d like the notifications to appear on screen.

Image Source: http://bit.ly/2OYm5zi
Media Streaming
And while on the topic of wireless connections, another great feature housed within Windows 10 is the operating system’s ability to mirror its screen directly onto devices that support Miracast technology. For reference, Miracast is a screen-mirroring program that comes natively installed on most Windows 10 devices. In turn, it makes it easy to connect a PC to a third-party device, such as a projector or 4K television; without the need to run an HDMI cable between two devices.
To check if your Windows 10 device is capable or using Miracast, search for the Connect app using the search bar at the bottom of the desktop screen. If your Windows device doesn’t support this feature, you’ll get a notice telling you the device doesn’t support Miracast. Otherwise, it should say that it is ready to connect wirelessly.
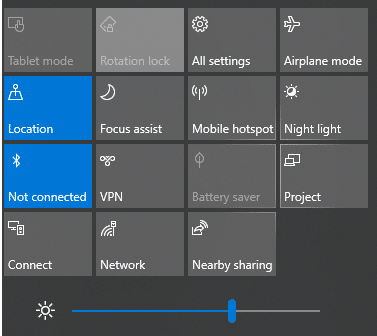
Now, although there are a fair number of devices that support this technology, Rocket IT has only tested it with Roku streaming boxes and Xbox One S gaming systems. To establish a connection between a Windows 10 PC and a Roku device, first boot up both systems. Next, click the notification box in the bottom-right corner of the PC. From here, tap Connect and select the appropriate Roku. The Roku will then provide a prompt, asking if you’d like to allow the PC to connect. Select Allow and it’s ready to stream. While these same steps also apply to those interested in establishing a connection between a Windows 10 PC and Xbox One S, know that the Xbox must first have the Wireless Display app installed before use.

Native Screen Capturing
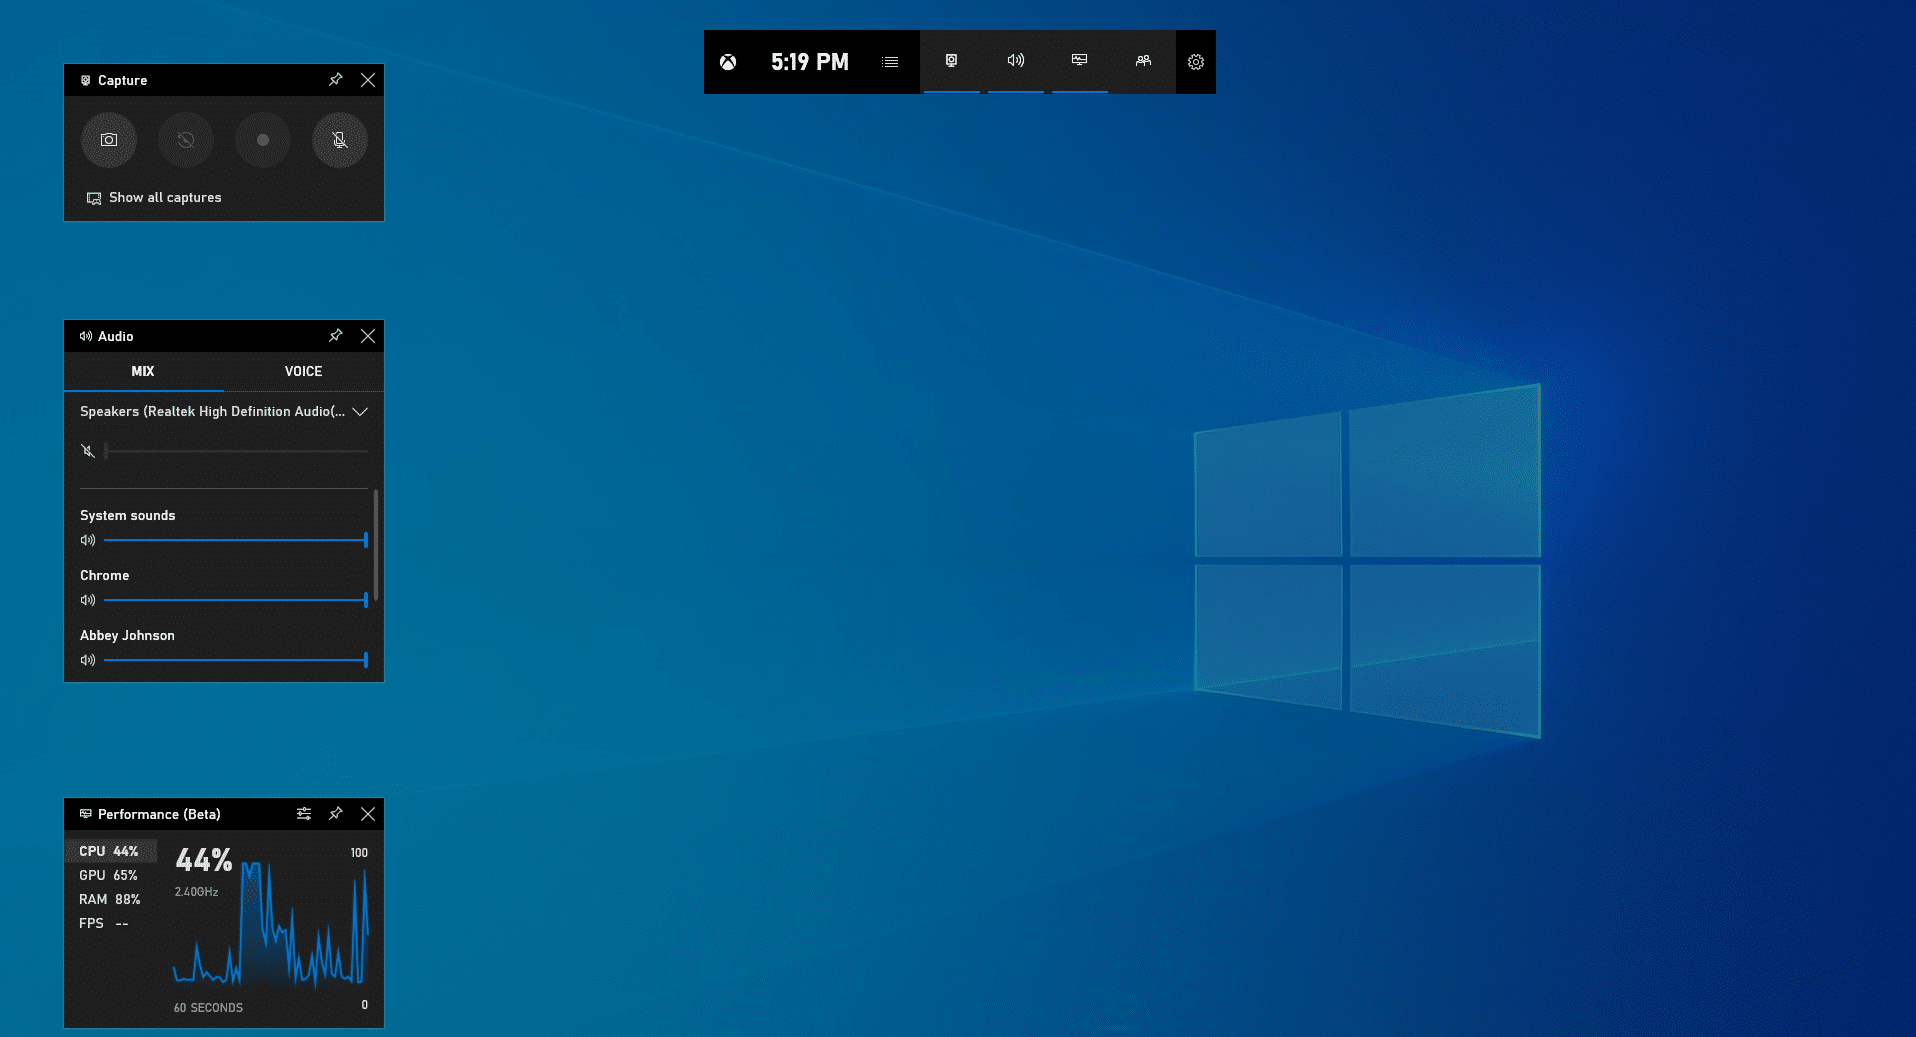
For individuals that previously attempted to record a PC’s screen on a prior version of Windows, you may have run into a dilemma of selecting the best screen capturing software. Now, with Windows 10, that feature is built directly into the operating system in the form of the “Xbox Game Bar”. But while the name suggests the program can only be used to record video game software, don’t let that fool you. This gaming DVR can be used to capture and share anything displayed on screen; making it simple to record web tutorials and other on-screen actions.
To open the Xbox Game Bar, simultaneously click the Windows and “G” key on the keyboard; or search for it using the desktop’s taskbar. Once open, you’ll immediately notice a slew of menus built into the user interface. At the top, you have general account settings and the ability to customize which menus are displayed. On the left, you’re greeted with a digital audio mixing board, performance monitoring panels, and the record and mute buttons. Once record is selected, simply click the screen to dismiss the UI overlay. Files that are recorded are stored in the Xbox Game Bar’s capture gallery.
Windows Sandbox
In the world of software development, the term “sandbox” refers to an environment in which developers and consumers can both build and test new programs. And although sandbox experiences have been used across software development kits for some time, Windows 10 brought this digital environment to all individuals with a Pro or Enterprise version of the OS
In Windows’ Sandbox, PC owners can safely download and run new .exe files from the web, without the risk of harming their device. When launched, Windows Sandbox creates a temporary desktop, ensuring test files are contained in an isolated environment and tossed after the program is closed.

Image Source: http://bit.ly/2wnTnRX
To enable Windows Sandbox, search for “Turn Windows features on or off” in the desktop’s taskbar. Then, scroll down to the Windows Sandbox option, click OK, and restart the PC. Once rebooted, search for Windows Sandbox, launch the app and you should immediately see a replica of your current OS displayed on top of your normal desktop screen. Individuals can then copy and paste files directly into the sandbox for testing. One thing to note before closing the program, files deleted within Windows Sandbox are permanently removed and not sent to the recycle bin.
Windows Hello Face
Within a short frame of time facial recognition software has been widely adopted across a range of devices. Noting this, it was inevitable that Microsoft would include face scanning technology in Windows 10.
Named “Windows Hello Face”, Microsoft has made it easy to unlock a PC by just looking into the webcam. To enable Hello Face, open the PC’s settings and click Accounts. Then, in the left sidebar menu, click Sign-in options and select Windows Hello Face. Once clicked, you will receive a prompt, asking you to look directly into the camera. Follow these instructions to complete the setup process. One thing to consider, when creating a secondary pin, Rocket IT strongly encourages you to follow standard password policies to ensure your account is kept secure.

What’s to Come
Although this list of beloved Windows 10 features demonstrates Microsoft’s commitment to innovation, know that these programs offer only a glimpse into the operating system’s true potential. And with Microsoft launching Windows 10’s next major update sometime in early 2020, it’s only a matter of time before we add some new features to this list.
So, if you or your organization have yet to make the jump from Windows 7 to Windows 10, Rocket IT highly recommends doing so now. Not only are you missing out on an array of amazing features, you’re also letting your digital information remain at risk.
Related Posts


Subscribe to Rocket IT's Newsletter
Stay up to date on trending technology news and important updates.

Find out if Rocket IT is the right partner for your team
Claim a free consultation with a technology expert.